How to Draw a Jar Easy
This tutorial shows how to draw a jar of jam in eight steps. It includes simple illustrated examples and quick drawing tips.
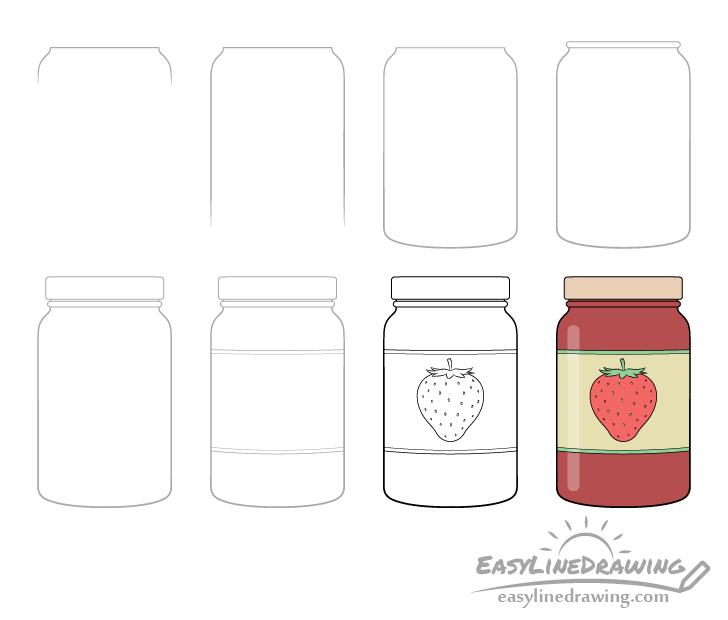
In this case it will be a jar of strawberry jam. You can see the drawing steps for it in the preview picture above.
Start the tutorial in pencil and make light lines that you can easily erase (in case you make a mistake). You can darken them later on with a black pen or marker.
Step 1 – Draw the Top of the Jam Jar
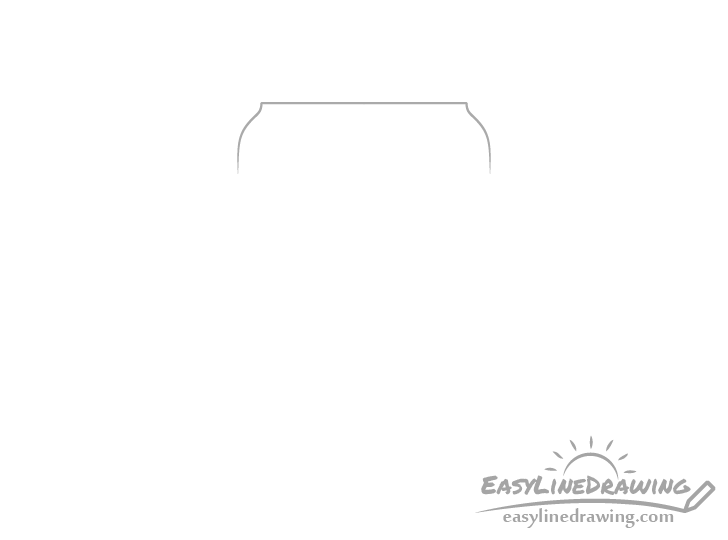
Begin by drawing the upper part of the jar of jam which will be part of the neck and the shoulders.
Make the neck area fairly short as it will have others parts added on top of it along with the lid in later steps.
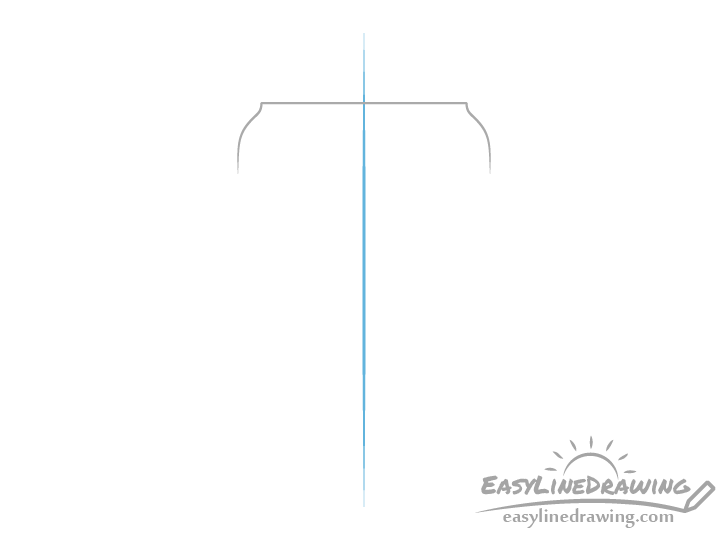
You may (optionally) wish to draw a vertical centerline (shown in blue in the example) to help you see if both sides of the jar are relatively equal in width.
If you do want to use it draw it lightly in pencil and keep this line all the way through step five.
Step 2 – Draw the Sides
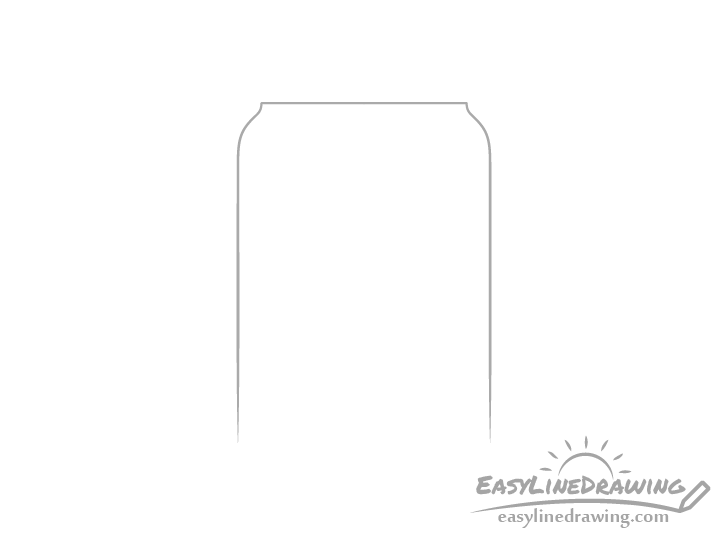
Coming down from the shoulders draw the sides of the jar. You can pretty much add these with just a pair of straight lines.
Step 3 – Draw the Bottom
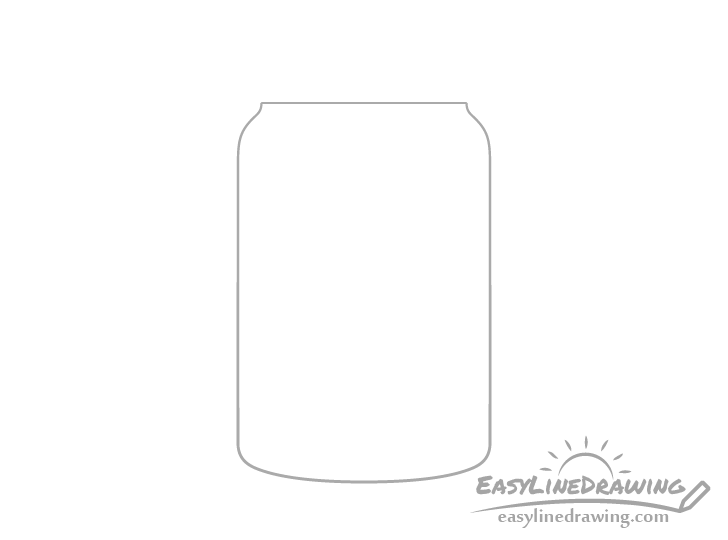
Draw the bottom of the jar with a smooth curve and rounded corners.
Step 4 – Draw the Neck "Ring"
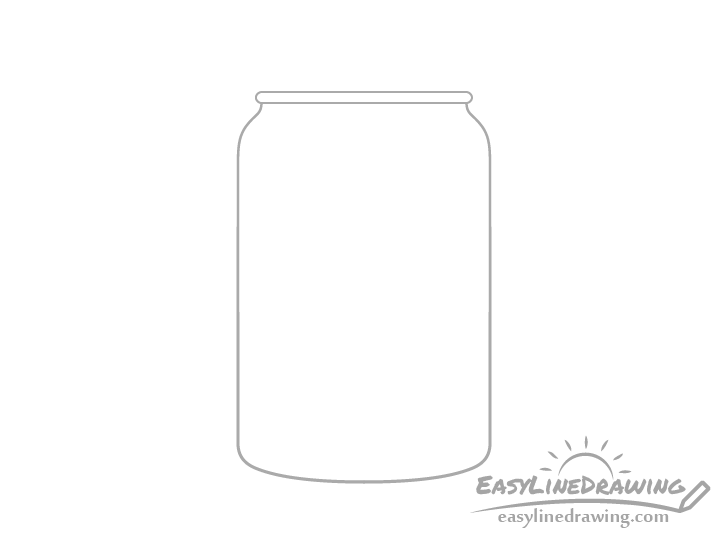
At the top of the jar add the a narrow "ring" section as shown in the example above.
Step 5 – Draw the Lid

Above the "ring" add a tiny bit more of the neck and above that place the lid.
You can draw the lid as pretty much a rectangle with rounded corners. Once you finish you should have a basic drawing of the jar with all of it's main parts.
If you chose to draw the centerline in step one you can erase it at this point.
Step 6 – Draw the Label
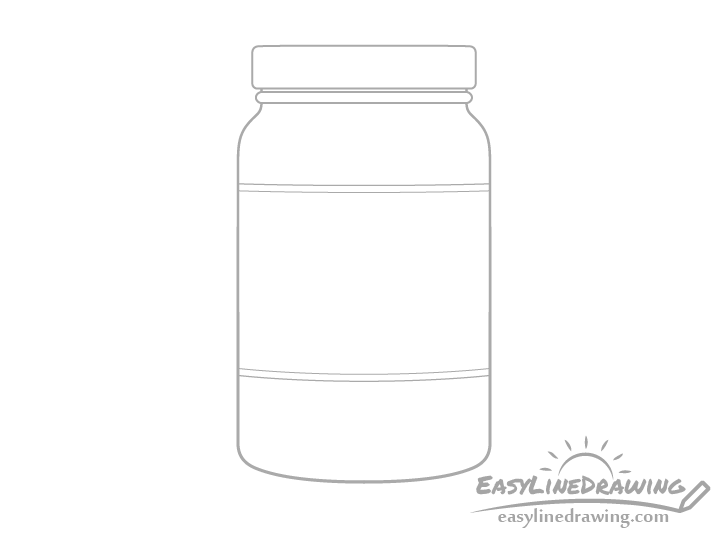
For this step add a label. Position it so that it's roughly vertically centered on the glass part of the jar (not counting the lid).
You can draw the line that defines the top of the label with just a little bit of a curve and the line that defines the bottom slightly more curved.
You can then add another set of lines to give the label a couple of stripes (one at the top and one at the bottom).
Step 7 – Draw the Strawberry & Finish the Line Drawing
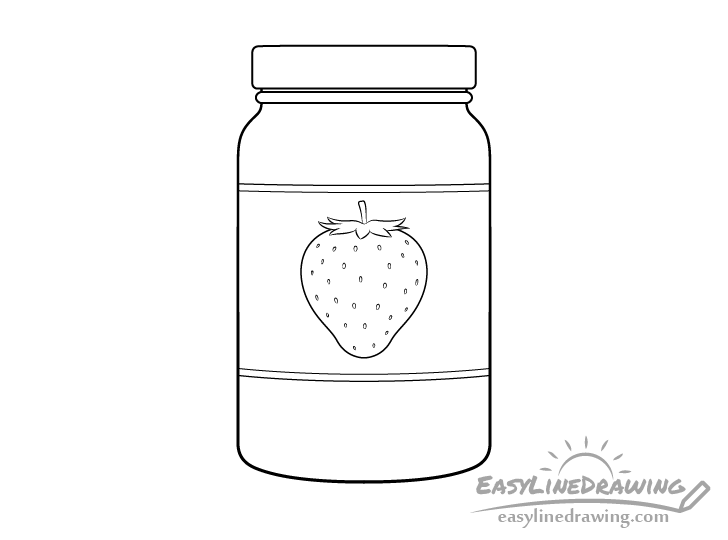
As it will be a jar of strawberry jam you can add a strawberry to the label. For instructions on drawing it you can see the following tutorial:
How to Draw a Strawberry Step by Step
Once you draw the strawberry you can trace over your lines with a black pen or marker. If you don't have one around simply darken them with the pencil.
Step 8 – Color the Jam Jar
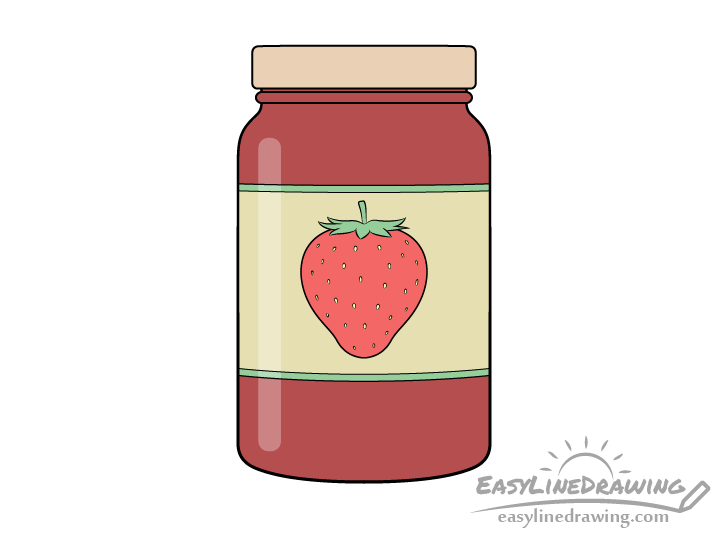
To color the jam jar you can use whatever medium you like like (colored pencils, markers, paints, etc…) or a mix of several.
Before adding any color you may also wish to lightly (in pencil) outline a highlight (light reflecting from it) on the side of the jar as shown in the example. At first leave the highlight white and simply color around it. Afterwards you can lightly shade it with the same colors as the different parts of the jar that it overlaps so that it doesn't stand out too much.
You can color the jar as follows:
- Lid – light brown
- Jar/Jam – dark red
- Label Stripes – green
- Label – light yellow/brown
- Strawberry – red/green/yellow
Conclusion
Drawing the jar of jam in this case is technically a combination of two different tutorials one for drawing the actual jar and one for the strawberry on the label. While you could leave the label blank for a simpler drawing it's really not that difficult to add it and it can make the jar look a lot nicer.
If you want to put something else on the label and have a different type of jam you can also see some of these other tutorial for ideas:
- How to Draw Cherries Step by Step
- How to Draw Blueberries Step by Step
- How to Draw a Plum Step by Step
For other similar tutorials see:
- How to Draw a Tea Bag Step by Step
- How to Draw a Can of Pop Step by Step
- How to Draw Yogurt Step by Step
- How to Draw a Bottle of Water Step by Step
- How to Draw a Mug Step by Step
- How to Draw Glasses Step by Step
Source: https://www.easylinedrawing.com/how-to-draw-a-jar-of-jam-step-by-step/
0 Response to "How to Draw a Jar Easy"
Post a Comment